Building Wagons for Wedding & Event Use: Styling Tips & Durability
You’re planning an event—a wedding, festival, farm fete—and you envision a charming wagon as part of the decor or guest experience. It might serve to carry the bride, children, bouquets, or simply act as a photo prop. But aesthetics alone won’t suffice: it must also stand up to repeated use, elements, guest traffic, and event logistics.
In this post, you’ll discover:
The dual priorities of styling and durability for event wagons
Design elements & materials that balance beauty and strength
A step-by-step guide for building or customizing an event wagon
Common questions event planners or farm operators ask
Whether you’re providing this as a service or buying one for your venue, these insights will help you build a wagon that looks spectacular—and lasts through many celebrations.
Why Event & Wedding Wagons Are Unique
Unlike heavy farm wagons meant for loads of hay or machinery, wagons used in weddings or events face different demands:
They must look elegant, match themes, and photograph well.
They must handle lighter but frequent loads—guests, flowers, props, movement over lawns or gravel paths.
They must tolerate foot traffic, potential bumping, moisture, and repeated setups/tear-downs.
They often need modular design — easy to decorate, reconfigure, and repair.
Thus, designing or selecting an event wagon is a balancing act: durability + beauty + flexibility.
Key Styling & Durability Considerations
Here are the core aspects to pay attention to when building a wedding or event wagon:
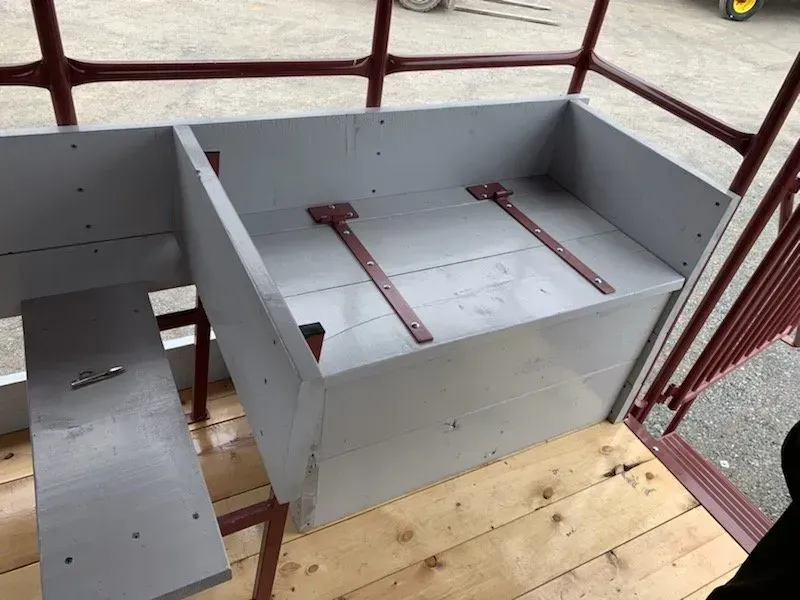
Frame & Structural Strength
Use heavier gauge steel or reinforced wood for critical structural members (side rails, base frame).
Ensure joints and welds are robust; use gussets or braces in high-stress corners.
Design for expected loads plus a safety margin (don’t push the limits).
Flooring & Decking
Use durable, moisture-resistant decking materials (treated wood, composite, or sealed hardwood).
Surface should resist slipping (consider textured coatings or non-slip overlays).
Make it easy to clean and repair (modular boards, removable panels).
Side Rails, Gates & Enclosures
Rails should be safe, solid, and attractive. Simple but elegant vertical or horizontal bars, decorative ironwork, or cutouts can add flair.
Gates or drop-down side sections should operate smoothly and lock securely.
Consider designs that allow attaching drapery, flowers, or signage.
Finishes, Paint & Coatings
Use exterior-grade paint, marine varnish, powder-coating, or protective sealants to resist weather, scratches, and wear
Choose color schemes consistent with wedding/event styling (white, ivory, natural wood tones).
You can incorporate decorative panels, trim, or accent metalwork for style.
Wheels, Tires & Suspension
Choose wheels and tires appropriate for lawns, gravel, or paved paths—pneumatic tires often work best.
Use bearings and hubs rated for frequent starts/stops and varied surfaces.
Consider shock absorption or vibration damping in the suspension or mounting points to protect guests and decor.
Modular & Removable Elements
Design benches, platforms, or backrests to be removable or adjustable.
Provide mounting points or brackets for decorations (floral frames, signage, drapery hooks).
Use removable covers or canopies that can be swapped depending on event style.
Lighting & Electrical Integration
Plan wiring or mounts for ambient lighting (string lights, lanterns, LED strips).
Wire conduits or channels should be hidden or integrated cleanly.
Use low-voltage or battery systems for safety outdoors.
Weather Protection & Covering
Offer optional canopies, tarp covers, or clear roofs for light rain or sun protection.
Designs should allow for easy removal or adjustment.
Fabric should be UV-resistant, mildew-resistant, and easy to clean.
Maintenance & Serviceability
Ensure wear parts (floorboards, rails, hinges) are replaceable.
Use standard bolts or fasteners so parts are easily available.
Plan for touch-up paint and sealant access.
Make inspection access easy (e.g. removable panels or openings).
How to Build or Customize an Event Wagon: Step-by-Step Guide
Here’s a recommended workflow you (or your builder) can follow when creating or customizing an event/wedding wagon:
Clarify your use cases & styling vision
Decide whether this wagon will transport people, props, floral displays, or all of the above. Determine styles, colors, and theme flexibility.Set load and traffic specs
Estimate maximum guest load, weight of decorations, walking traffic. Add safety margin (20–30%).Choose frame materials & layout
Select structural tubing, wood or metal framing; design reinforcement in stress zones (corners, connection points).Design layout: flooring, railings, gates
Sketch bench placement, side enclosures, gate design, walk-throughs. Ensure balance and clearance.Select wheels, tires & suspension
Pick tires suitable for your event terrain; design mounting for shock or vibration isolation if needed.Plan finishing touches & styling integration
Decide coatings, colors, trim, decorative touches. Lay out how you’ll mount décor, tapes, signage, or lighting.Add modular or removable components
Make benches, panels, or covers removable or reconfigurable. Add mounting brackets or pre-drilled holes for decorations.Pre-wire for lighting and electrical
Install conduits or wire channels for lighting options. Consider battery packs accessible but hidden.Prototype and test
Before use, test load, test gate operations, wheels over event-surface simulators (grass, gravel, slope). Observe for flexes or weak points.Finish, touch-ups & protect
Apply coatings or sealants. Inspect all welds, bolts, hinges. Test operation after finish cures.Event-ready inspections & maintenance
Before each event, check fasteners, wheels, rails, finishes for scuffs or loosening. Do periodic re-coating and component replacement as needed.
Frequently Asked Questions
Q: Can a wagon built for farm use be retrofitted for weddings and events?
A: Yes — if its frame, wheels, deck, and structural integrity are sufficient. You’ll want to add aesthetic touches, proper railings, decorative elements, and ensure smooth finishes.Q: What’s the best finish for resisting weather and wear?
A: Exterior-grade powder coatings, UV-stable paint systems, marine varnishes, or protective sealants are ideal. They resist fading, scratching, and moisture damage.Q: Should event wagons have suspension or dampening?
A: In many cases yes, especially over uneven grass, gravel, or paths. Even simple rubber bushings or dampers can reduce jolts to guests and decor.Q: What wheels work best for weddings on lawns or hard surfaces?
A: Pneumatic (air-filled) tires or wide, low-ground-pressure tires tend to perform best. Avoid narrow hard tires that dig in or bounce.Q: How do I make the wagon adaptable for various event themes?
A: Use neutral base colors (white, natural wood), include removable decorative panels, pre-installed mounting points for banners or florals, and modular seating setups.
Conclusion
When building a wagon for wedding and event use, you’re not just building a piece of farm hardware—you’re crafting an experience. The best event wagons marry aesthetics with durability: strong frames, reliable wheels, weather-safe finishes, and modular design all play critical roles.
If you want help designing a wedding-ready wagon, sourcing finishing options, or building mount systems for decor, Gap Hill Farm Wagons can partner with you. Let’s transform your vision into a wagon that works beautifully, event after event.
